Here is how you can organize yourself a business with modest costs of creating a repository site and two mobile apps, for Android and iOS. The idea is that
- the app user produces content,
- uploads it to the site,
- you judge it on some grounds, and
- if it is a competition, somebody gets a prize.
Instead of competition or tournament, you can create a marketplace and sell their wares to the other users of the app.
So what do all these tasks have in common:
- take an image of an order sheet on paper, send it to the site where the admins approve it or reject it and/or wait for payment to ship the goods,
- music producers upload music instrumentals to the site, the admins approve it to the market and then other users, the artists, purchase and download it for their own use,
- anglers upload the images of the fish they catch, upload it to the referee and get prizes at the fishing tournament they previously applied to?
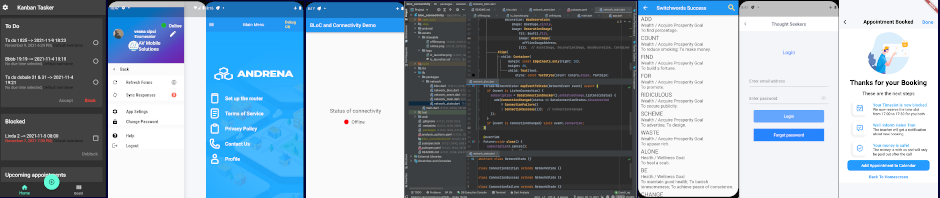
Here is the infrastructure of the whole system.
User Roles at the Back End Site
The site serves as a repository for the data that are being sold, and gives you total control of your business. You can see financial reports, add or ban users, approve or reject the goods they want to sell and so on.
There can be several kinds of admins. One (or more) are the super admin, the one that can do everything to everyone in the system. That would be your role in the beginning, assuming you both start the business and strive to implement it.
Other admins will have less authority. In case of selling music, there can be a “music acquisitions editor” which will listen to the songs and veto them or approve. If selling merchandise, that kind of admin would see whether the order is well prepared and whether the delivery can proceed. In case of fishing tournaments, the referee will see to that that the fish is well measured, that the image is not tampered with and so on.
User Roles at the Mobile Device
There can be one or two or three user roles on the device.
The site admin can enter the mobile app as well and work from there. That is possible but not advisable, as all that functionality is all placed at the site, which will probably be used on larger screens.
In case of tournaments, just one user role is sufficient — the uploader. The other possible role on the device would be a free on-looker, watching the leader boards, cheering and so on.
In case of ecommerce app, besides the uploader, there will also be the consumer. The consumer will be able to browse the catalogue and buy something from it.
User Groups on the Server
Super Admin can make new groups and the user in each group can do certain things in the system. Here is what the groups might look like:
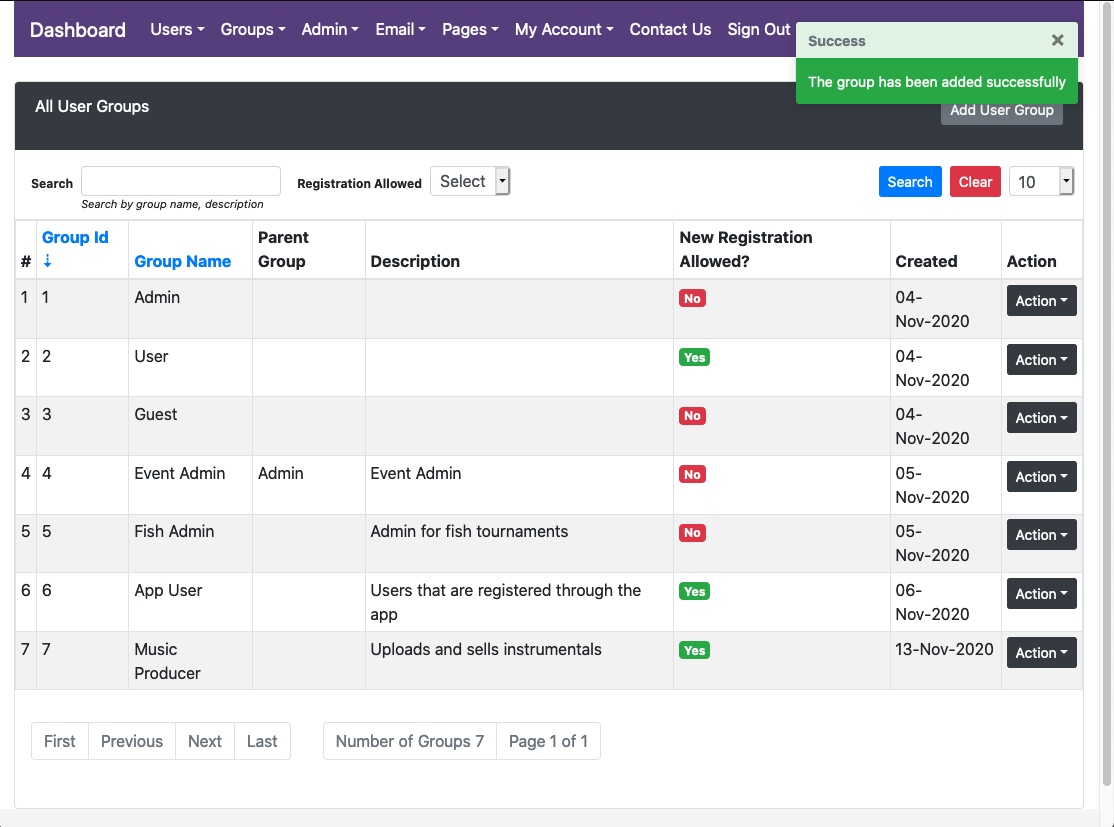
Admin groups on the apps server
Here is what these types of users can do:
| Group Id | Name |
| 1 | Admin, typically this will be the super admin |
| 2 | User normal member of the site |
| 3 | Guest this is the visitor of the site |
| 4 | Event Admin for an events planning site |
| 5 | Fish Admin for fishing tournaments |
| 6 | App User registers through the app on the device and uses the server through the app only |
| 7 | Music Producer could be a user which uploads and sell music through the app |
Normally, you will need 3-4 roles, 5 at max. In the music app, groups 6 and 7 would be the “consumers” and the “uploaders”, respectively. Here is a possible arrangement of groups for the fishing tournament app:
| Group | Role |
| 5 | the admin on the site |
| 3 | visitor of the site who can watch the leader boards live without paying |
| 6 | “tournament participant” |
| 7 | “tournament founder” |
sds
Upload Image to the Server
Here is what the main menu screen looks like on the device. Button NEW ORDER will upload the image. After the upload is finished, the referee on the server will approve it (or not) and when we tap on the mobile screen again, sometime later, it will show that the image is approved.
The main menu screen is on the left. After tapping the NEW ORDER button we arrive at screen on the right:
 Upload image to server |
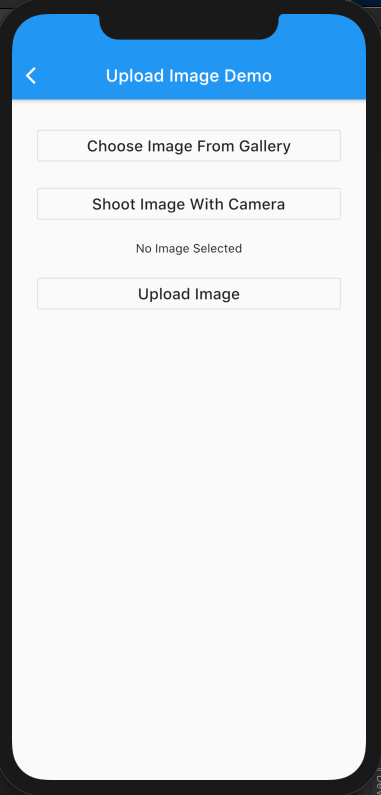 The first screen to upload image to the device |
We can choose to upload one of the prerecorded images with Choose Image From Gallery, or we can take a photo on the spot (Shoot Image with Camera). Since this is the simulator, we use the first option. The consequence is that we have images of flowers, waterfalls and landscapes to upload, but for the purposes of this article, it should be just fine.
So tap on Choose Image From Gallery and get to these two screens:
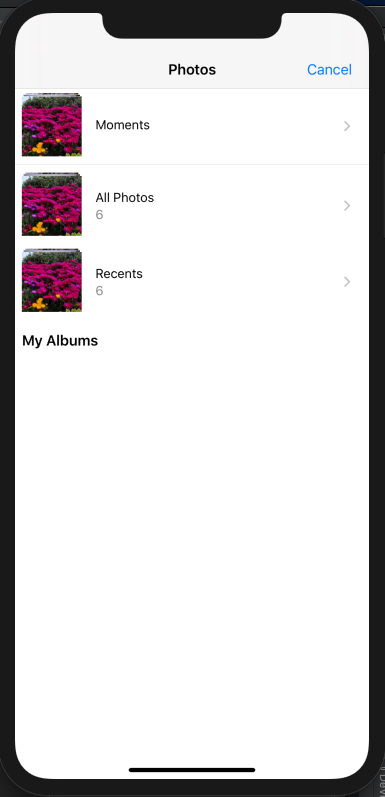 Upload image – select from the gallery |
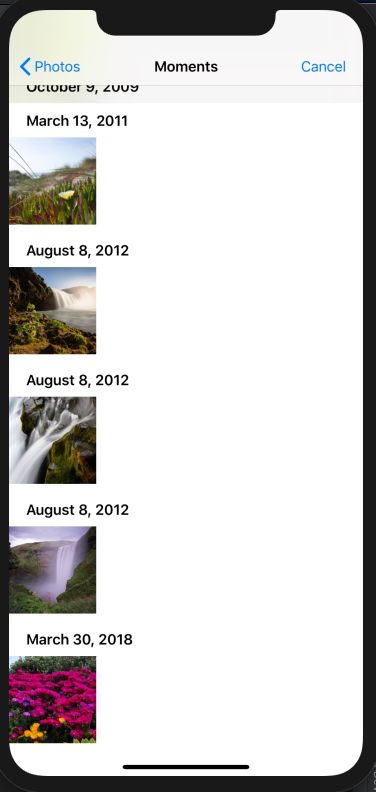 Select concrete image from the list |
In the next screen, the image is chosen and all we need is to tap the Submit button to send to the server.
 The image is chosen and needs be sent to the server |
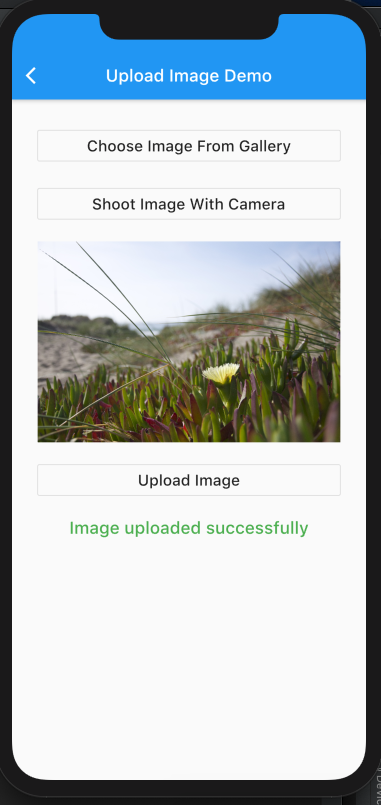 Image is successfully uploaded to the server |
The Admin has received en email that there is a new order, or image, or whatever other file is being submitted and can go to the special part of the server to intervene. Here is what it looks like both at the server and on the device:

Uploaded image waiting to be approved
Note that on the device there is one entry under the Pending button. It appeared automatically, as the app knows that the image was uploaded and reads the state of the server. For now, there is just one entry, but in general, all three columns can contain multiple entries at the same time.
The latest upload is at the bottom, No. 15, Amount of 0 and Pending review. To review it, click on Action button and then on Edit:

Edit and review the uploaded image
This is the Approve or Reject Order Form screen:

The review / edit screen called Approve or Reject Order Form
The admin on the site can then do one of the following:
- Leave it as Pending Review, which is the default state after the upload,
- Make it Approved, meaning that the image is well formed, readable, has enough content and information to be let into the system,
- Make it Rejected, in which case one of the two radio buttons bellow, Bad picture or Unreadable order will also be sent to the device as the explanation of why the image is rejected,
- Finally, it can be Cancelled, which here means it is not in the order forms circulation, perhaps, it was turned into an order and thus became part of another table in the database.
This case is about order forms on paper, shot with the device and sent as an entry document into the server. In fish tournaments, the options would be different, as would be the case in an ecommerce site and so on.
Supposing we make the image Approved and click on the Submit button on the server, this is what we would get both on the server and on the device:

Approved image on server and on the device
We see at row 15 a green entry is in column Approved. Buttons Pending and Approved on the device now contain different numbers as the device reads data from server and tallies everything up.
Tapping on green Cancel button for each entry will make it Cancelled on the server; the entry won’t be visible any more.