To use Twitter to the max in your app, the first step to “create” an app within Twitter’s developer section. The address you need will be
https://dev.twitter.com/twitter-kit/android/configure
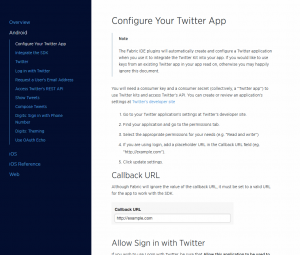
which leads to this screen:
Read that page to learn what you need to specify in order to create an app with Twitter.
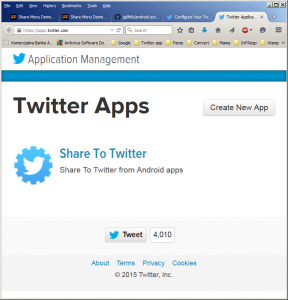
Clicking on the link leads to this screen
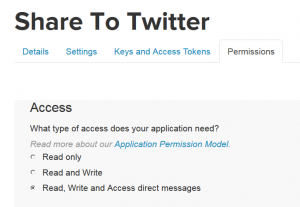
My was called Share To Twitter, so clicking on that, I get access to my app’s details on Twitter. You will have to visit all four menu options, Details, Settings, Keys and Access Tokens, and Permissions and dully generate and enter all the information required. On the following image we see only the last option — it is important to enable the third option Read, Write and Access direct messages.
How To Use These Parameters?
To publish to Twitter (or, publish using Twitter), you may use my Share to Twitter plugin, described here. This is only for Android users. This approach uses Android intents and needs not keys, access rights and so on. Ideal if you already are a mobile Twitter user and have their “original” app already installed.
If you use another of my plugins, called Menu Share, you can also post to Twitter and eleven other social sites, without the need for keys etc. provided you once enter the login and the password.
You will need the keys from the above screens if you want to use an external library such as Twitter4J. Finally, in the last quarter of 2014 Twitter rolled out their integrated approach to mobile apps building, called Fabric. Now (February 2015) their entire developer site is made into “fabric” and there is no escaping using it. Most examples are also for Android Studio, so if you are still using Eclipse, you may feel like out of luck.
For Fabric, which is now a formal library for building Twitter apps, as well as for Twitter4J, you will need the keys and access rights described in the above image.


